There's something magical about spending a night under canvas in the wilderness. But for first-time campers, the prospect of setting up a tent can feel daunting. This comprehensive guide will transform you from a nervous beginner into a confident tent master, whether you're camping in your backyard or heading deep into the backcountry.
Understanding Your Tent
Before you pitch your tent, take time to understand its components and design. Modern tents generally fall into several categories: dome tents, which are lightweight and weather-resistant; cabin tents, which offer more headroom and are great for family car camping; backpacking tents, designed for minimal weight and easy setup; and ultralight tarp setups for the most experienced adventurers.
Every tent comes with poles, stakes, and a rainfly. The poles typically interlock and create the tent's structural framework. Stakes secure the tent to the ground and maintain tension in the rainfly and guy lines. The rainfly is your primary defense against rain and wind, while the inner tent provides bug protection and privacy.
Parts of a Tent You Should Know
- Footprint: A groundsheet that protects your tent floor from abrasion and moisture
- Rainfly: The waterproof outer layer that shields against rain and wind
- Guy lines: Cord attached to the tent to secure it in windy conditions
- Stake-out points: Loops or tabs where you attach stakes or guy lines
- Ventilation ports: Openings that allow airflow to reduce condensation
Choosing the Perfect Campsite
Your campsite selection dramatically impacts your tent's performance and your overall comfort. Look for level ground that's free of rocks, roots, and debris. A slight incline is acceptable if you position your head at the higher end. Avoid low-lying areas where water pools during rain, and never pitch your tent directly under dead trees or limbs that could fall.
In summer, seek shade to stay cool, but be aware that shade means less airflow, which increases condensation. In winter, exposure to sun can make a significant temperature difference. Consider wind direction—if prevailing winds come from the west, position your tent's narrow end to face that direction.
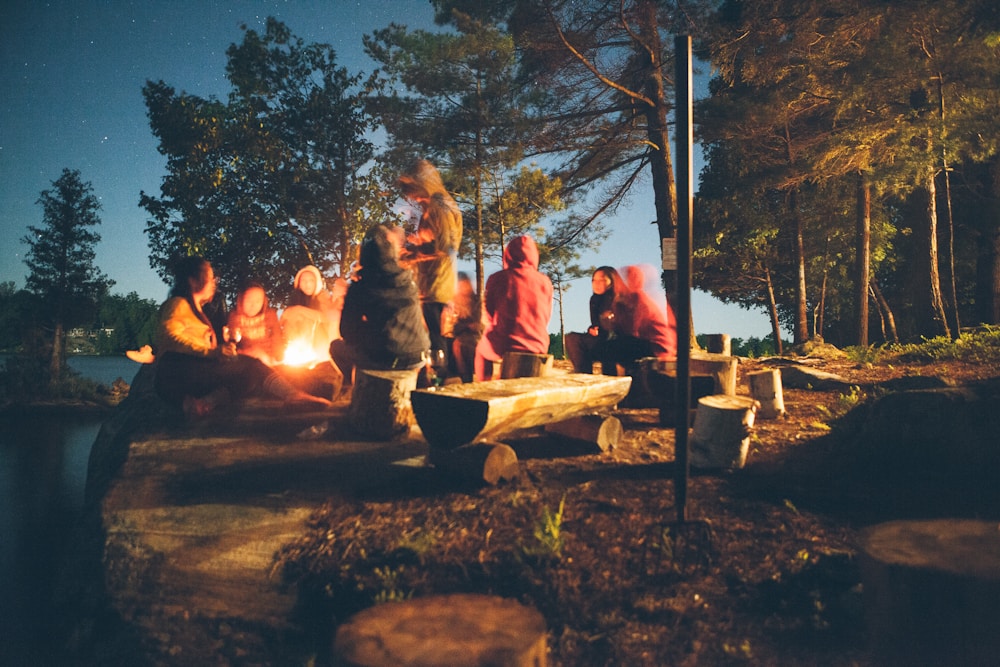
"The best campsite is one that protects you from the elements while minimizing your impact on the environment. Follow Leave No Trace principles always."
Step-by-Step Tent Pitching
Begin by laying out your tent footprint or groundsheet if you have one. This protects your tent floor from moisture and abrasion. Unfold your tent and position it on the footprint, ensuring the door faces away from prevailing wind. Most tents have a marked "this side up" indicator—follow it.
Step 1: Assemble the Poles
Connect your tent poles according to the manufacturer's instructions. Some poles have shock cord running through them that holds segments together. Lay the connected poles across the tent in their designated channels—they'll create an X or arc shape depending on your tent design.
Step 2: Raise the Tent
Most tents use a clip system where you attach the poles to the tent body. Start at one end and work your way to the other, ensuring each clip is secure. As you do this, the tent will begin to take shape. For dome tents, the poles will cross at the peak. For cabin tents, poles create vertical walls.
Step 3: Secure the Tent
Once the tent body is freestanding, insert the pole ends into the corners or grommets provided. These are typically color-coded or marked. Secure the tent by inserting stakes through the corner loops at a 45-degree angle, with the stake driven away from the tent. This angle provides maximum holding power.
Step 4: Attach the Rainfly
Drape the rainfly over the tent, matching any colored corners or markers to corresponding points on the tent body. Attach the rainfly to the tent using the clips or Velcro provided. Pull the rainfly taut to eliminate gaps, then secure it with stakes through the rainfly's ground loops.
Step 5: Add Guy Lines in Windy Conditions
If expecting wind or camping in exposed areas, attach and stake out the guy lines. These provide additional structural support and keep the rainfly taut against wind. The optimal angle for guy lines is 45 degrees from vertical, with stakes driven into the ground at that angle.
⚡ Related Tool
Use our Tent Footprint Calculator to determine the perfect footprint size for your tent.
Weatherproofing Your Tent
Even the best tents require attention to detail to perform well in adverse weather. Before your trip, apply a water-repellent treatment to your rainfly if it shows signs of wear. Seam sealer can be applied to factory seams that aren't already sealed. Check that your tent's hydrostatic head rating—typically measured in millimeters—is appropriate for your expected conditions.
When setting up in rain, minimize the time your tent interior is exposed by having all components ready before removing the tent from its bag. Keep a separate dry bag for your sleeping bag and change of clothes. In heavy rain, ensure your rainfly doesn't touch the inner tent—contact creates pathways for water to migrate through.
Common Mistakes to Avoid
- Under-staking: Always use all provided stake points, especially in the rainfly
- Loose rainfly: A slack rainfly catches wind like a sail and can damage poles
- Wrong stake angle: Stakes angled away from the tent hold better than vertical stakes
- Ignoring condensation: Condensation inside the tent usually means inadequate ventilation
- Rushing the setup: Practice at home before your trip to build confidence
Breaking Down Your Tent
Proper takedown extends your tent's lifespan. Always dry your tent before storing—even small amounts of moisture lead to mold and degraded coatings. Brush off dirt and debris, wipe down poles, and check that all components are accounted for. Never store your tent in its stuff sack for extended periods; a loose breathable storage bag allows moisture to escape.
Practice Makes Perfect
The best way to become proficient at tent setup is practice. Set up your tent in your backyard multiple times before your first trip. Practice in different weather conditions if possible. Time yourself—ultimately, you want to be able to pitch camp efficiently even after a long day on the trail. Many experienced backpackers can set up a tent in under five minutes.
Remember, every expert was once a beginner. Don't be discouraged if your first attempts take longer than expected or don't result in a perfectly taut setup. With practice, tent camping becomes second nature, freeing you to focus on what really matters—enjoying the wilderness and the incredible night sky that only camping can reveal.